Clay Art For The Hobbyist
Clay art is one of those hobbies that quietly pulls you in and never really lets go. What starts as a weekend experiment can quickly become a dedicated practice — and for good reason. Working with clay is tactile, meditative, and endlessly creative. Whether you're sculpting figurines, throwing pots on a wheel, or building jewellery from scratch, the medium rewards patience and curiosity in equal measure.
Choosing the right type of clay
Not all clay is created equal, and picking the right type for your skill level matters more than most beginners realise. Polymer clay is a popular starting point — it's affordable, widely available, and hardens in a standard oven. Air-dry clay is another accessible option that requires no kiln or special equipment. For those ready to take things further, earthenware and stoneware clays offer a more traditional experience, though they typically require firing in a kiln to achieve a permanent finish.
Essential tools for beginners
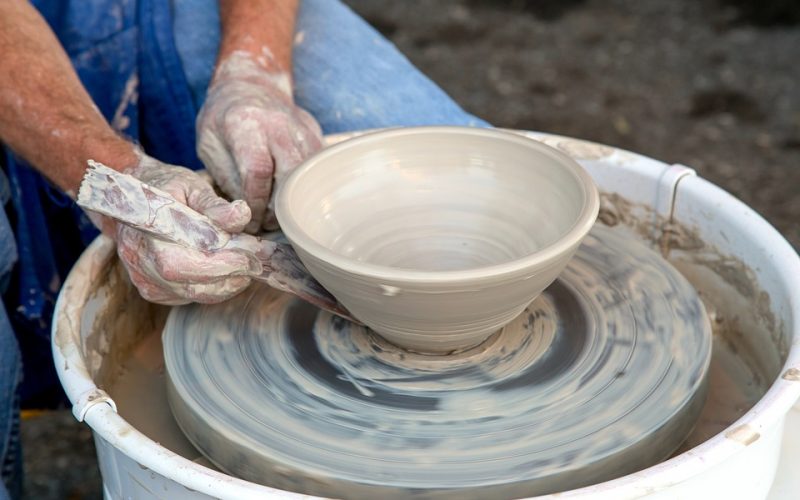
You don't need a studio full of equipment to get started. A basic toolkit might include a smooth work surface, a rolling pin or clay roller, a few sculpting tools for detail work, and some wire or a knife for cutting. As your skills develop, you might invest in ribbon tools, loop tools, or a pottery wheel — but none of that is necessary at the outset. Many hobbyists create impressive work with little more than their hands and a handful of inexpensive tools.
The basics of hand-building
Hand-building is the most accessible entry point into clay art. Three core techniques underpin most hand-built work: pinching, coiling, and slab construction. Pinching involves pressing and pulling the clay directly with your fingers to form a shape — it's intuitive and great for small vessels or abstract forms. Coiling requires rolling clay into long ropes and layering them to build up walls. Slab construction involves rolling out flat sheets of clay and assembling them, much like cutting and folding paper. Each method develops your understanding of clay's behaviour and limitations.
Common mistakes and how to avoid them
Clay has a habit of cracking, warping, or collapsing when handled incorrectly. The most frequent culprit is uneven thickness — areas that are too thin dry faster than thicker sections, creating stress fractures. Keeping your walls at a consistent thickness from the start makes a significant difference. Drying too quickly is another common issue; covering your work with a plastic sheet slows the drying process and gives the clay time to settle evenly. If you're working with kiln-fired clay, trapped air bubbles can cause pieces to explode during firing, so wedging — the process of kneading clay to remove air pockets — is a step worth taking seriously.
Finishing and decorating your work
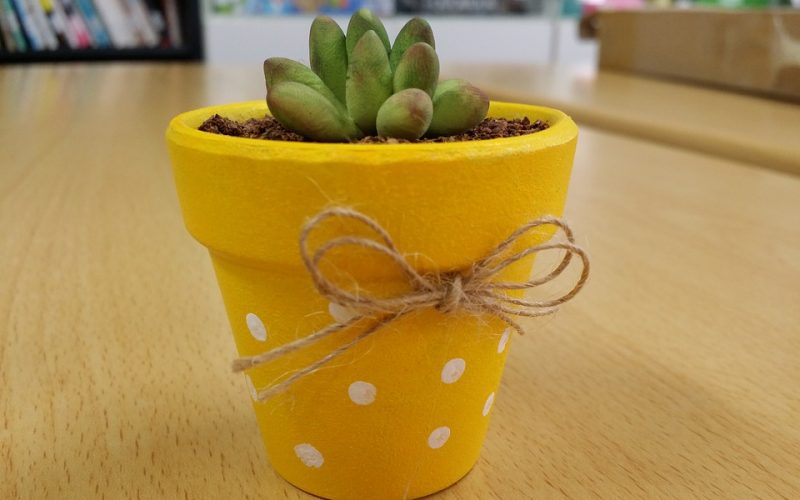
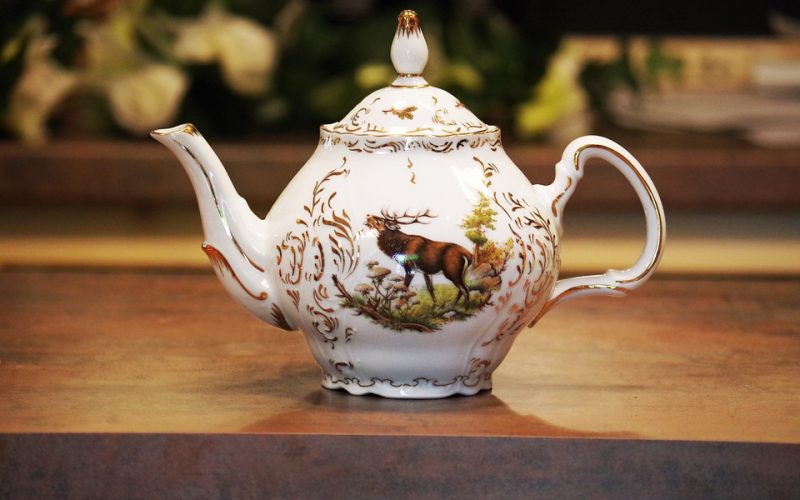
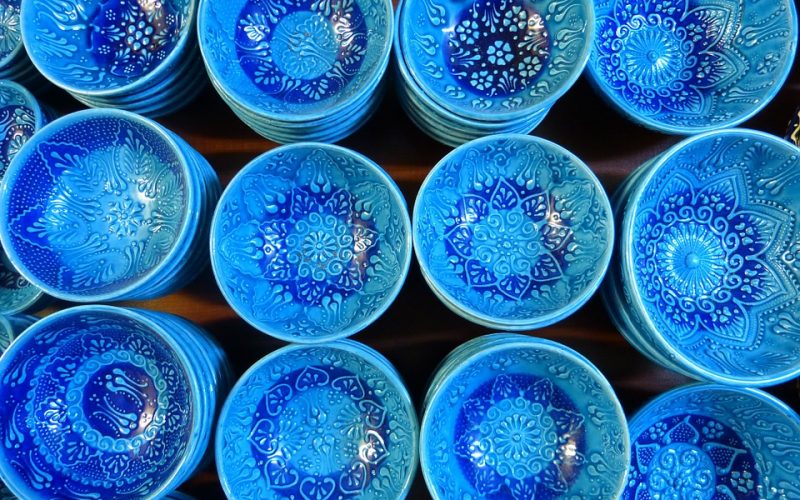
Once your piece has dried or been fired, the finishing stage opens up a whole new creative dimension. Underglazes and glazes can be applied to add colour and texture, and the results after a glaze firing are often strikingly different from what you'd expect on the raw piece. For polymer and air-dry clays, acrylic paints work well and dry quickly. Sanding between coats gives a smoother finish, while varnish or sealant adds durability and a polished appearance.
Building your practice over time
Clay art rewards consistency more than talent. Setting aside regular time each week — even just an hour or two — builds muscle memory and develops an intuitive feel for the material. Online tutorials, community classes, and local pottery studios are all excellent resources for learning new techniques and connecting with other enthusiasts. The hobbyist's path through clay art is rarely linear, but that's part of its appeal. Every piece teaches you something new, and the ones that go wrong often turn out to be the most instructive of all.